
April 23, 2019
Sprucing Up An Old Play Kitchen


I often find myself in conversations with my mom where she looks at me like I’m crazy. “Why don’t you just leave it the way it is?” she asks me as I complain about my lack of free time; while still charging out the door to pick up supplies for yet another art project or home improvement mission. Makers Gonna MAKE ma! Ain’t no reason things are this way. And that is just the way we do the damn thang!
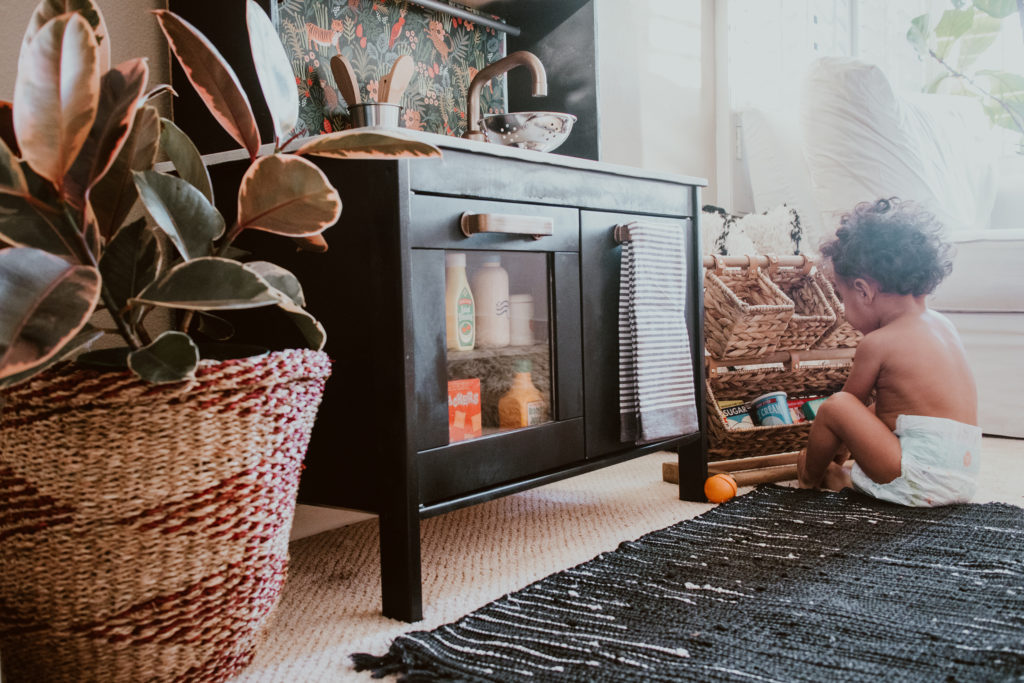
I decided to paint this hand me down Ikea kitchen for Winter. Of course it was no surprise to me that once I hopped on the internet I saw I was not the only person to ever have this idea. You can do a simple search for “Ikea Play Kitchen Hack” and find tons of Ikea kitchens remodeled by other insane parents who are living out their own kitchen dreams by renovating their children’s spaces. I’m talking like tiled backsplash crazy.
Good then, I thought. I’m not the only loose nut. Now that I am in good company… let’s begin.
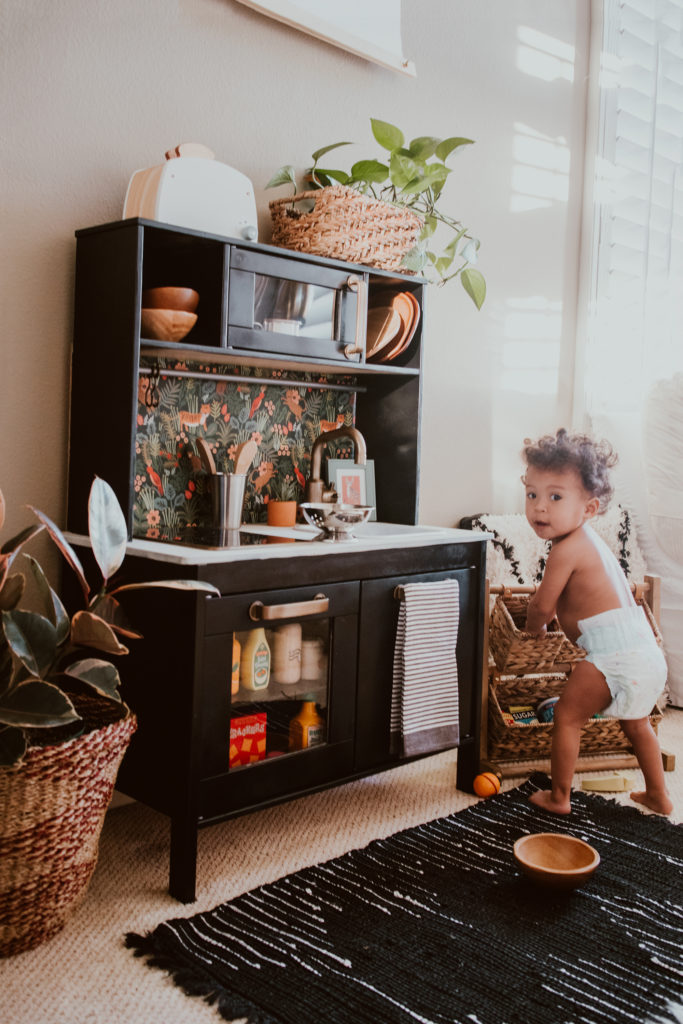
All you need is some blue tape, spray paint, and (the trickiest tool for a girl like me) a little patience between paint coats. I’m glad I wasted a weekend working on it. The thing lives in my kitchen and it brings me joy to look at every day now so it was worth it. Winter is getting the hang of rifling through all of the drawers while I cook. It keeps her out of the dangerous cupboards and into her own play food while I have busy hands in the kitchen and can’t hover over her.
Here’s how you can make your own!
SUPPLIES
1 Ikea Play Kitchen
1 roll of 1-2″ blue tape
3 Cans Semigloss Spray Paint (the color of the cabinets you would like)
1 Can Metallic Spray Paint (the color of the hardware that you would like)
1 Can Faux Porcelain Spray Paint
1 Can Faux Stone Spray Paint
1 Can Clear Enamel
1 Can Spray Adheshive
1 Small Piece of scrap wood or MDF
 STEP 1: Taking it Off
You may be purchasing your kitchen new but I am a big fan of the do not waste and make something old good again. My friend Maritza handed this kitchen down to baby girl. First step was unscrewing all of the doors and handles, noting where the hardware was for reassembly later. You can photograph it beforehand for reference.
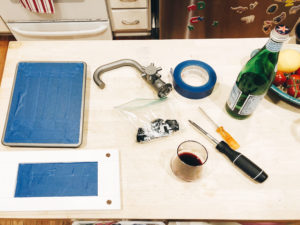
STEP 2: Blue Tape Like a Mofo
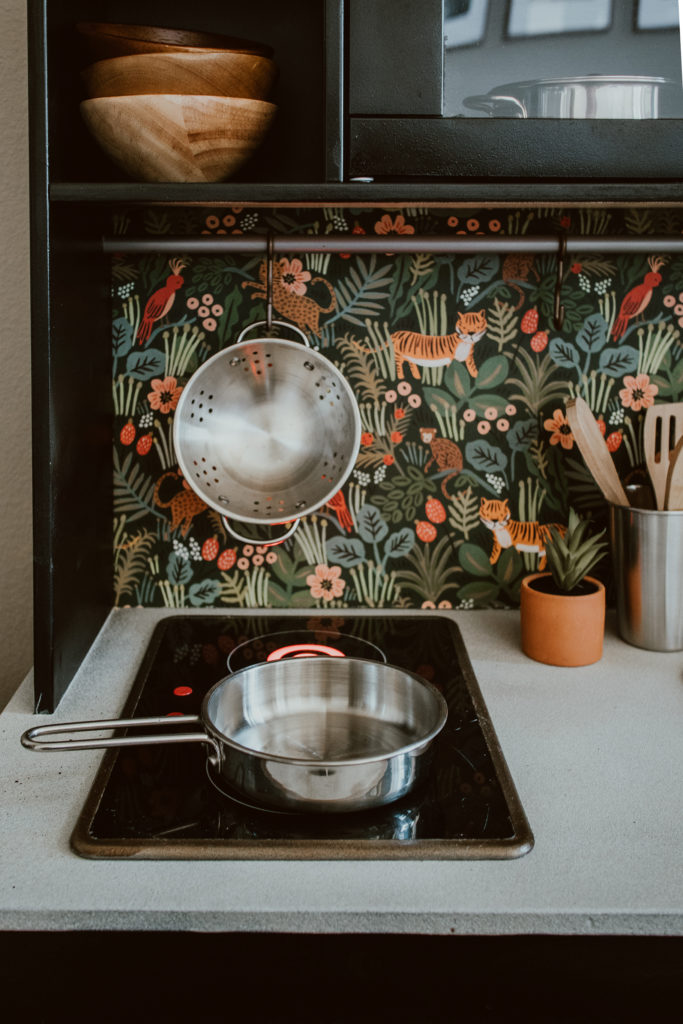
Being precise tape around all of the areas where there is the plexiglass making sure to go right up into the cracks.. I also took out the little stovetop and taped that so I could spray the rim of it to match the hardware.
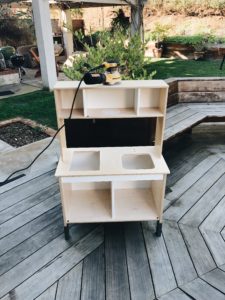 STEP 3: Sand Man.. Sand
I sanded using a rougher sand paper first and now in retrospect I would have done a couple more coats of sanding after the white paint came off with a really fine grit to get it smooth. There is a glassy layer on top of the wood you are going to want to make sure come completely off and the more evenly you sand the more evenly the paint will absorb.
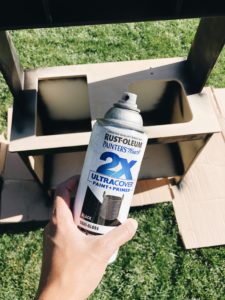
STEP 4: Spray Painting
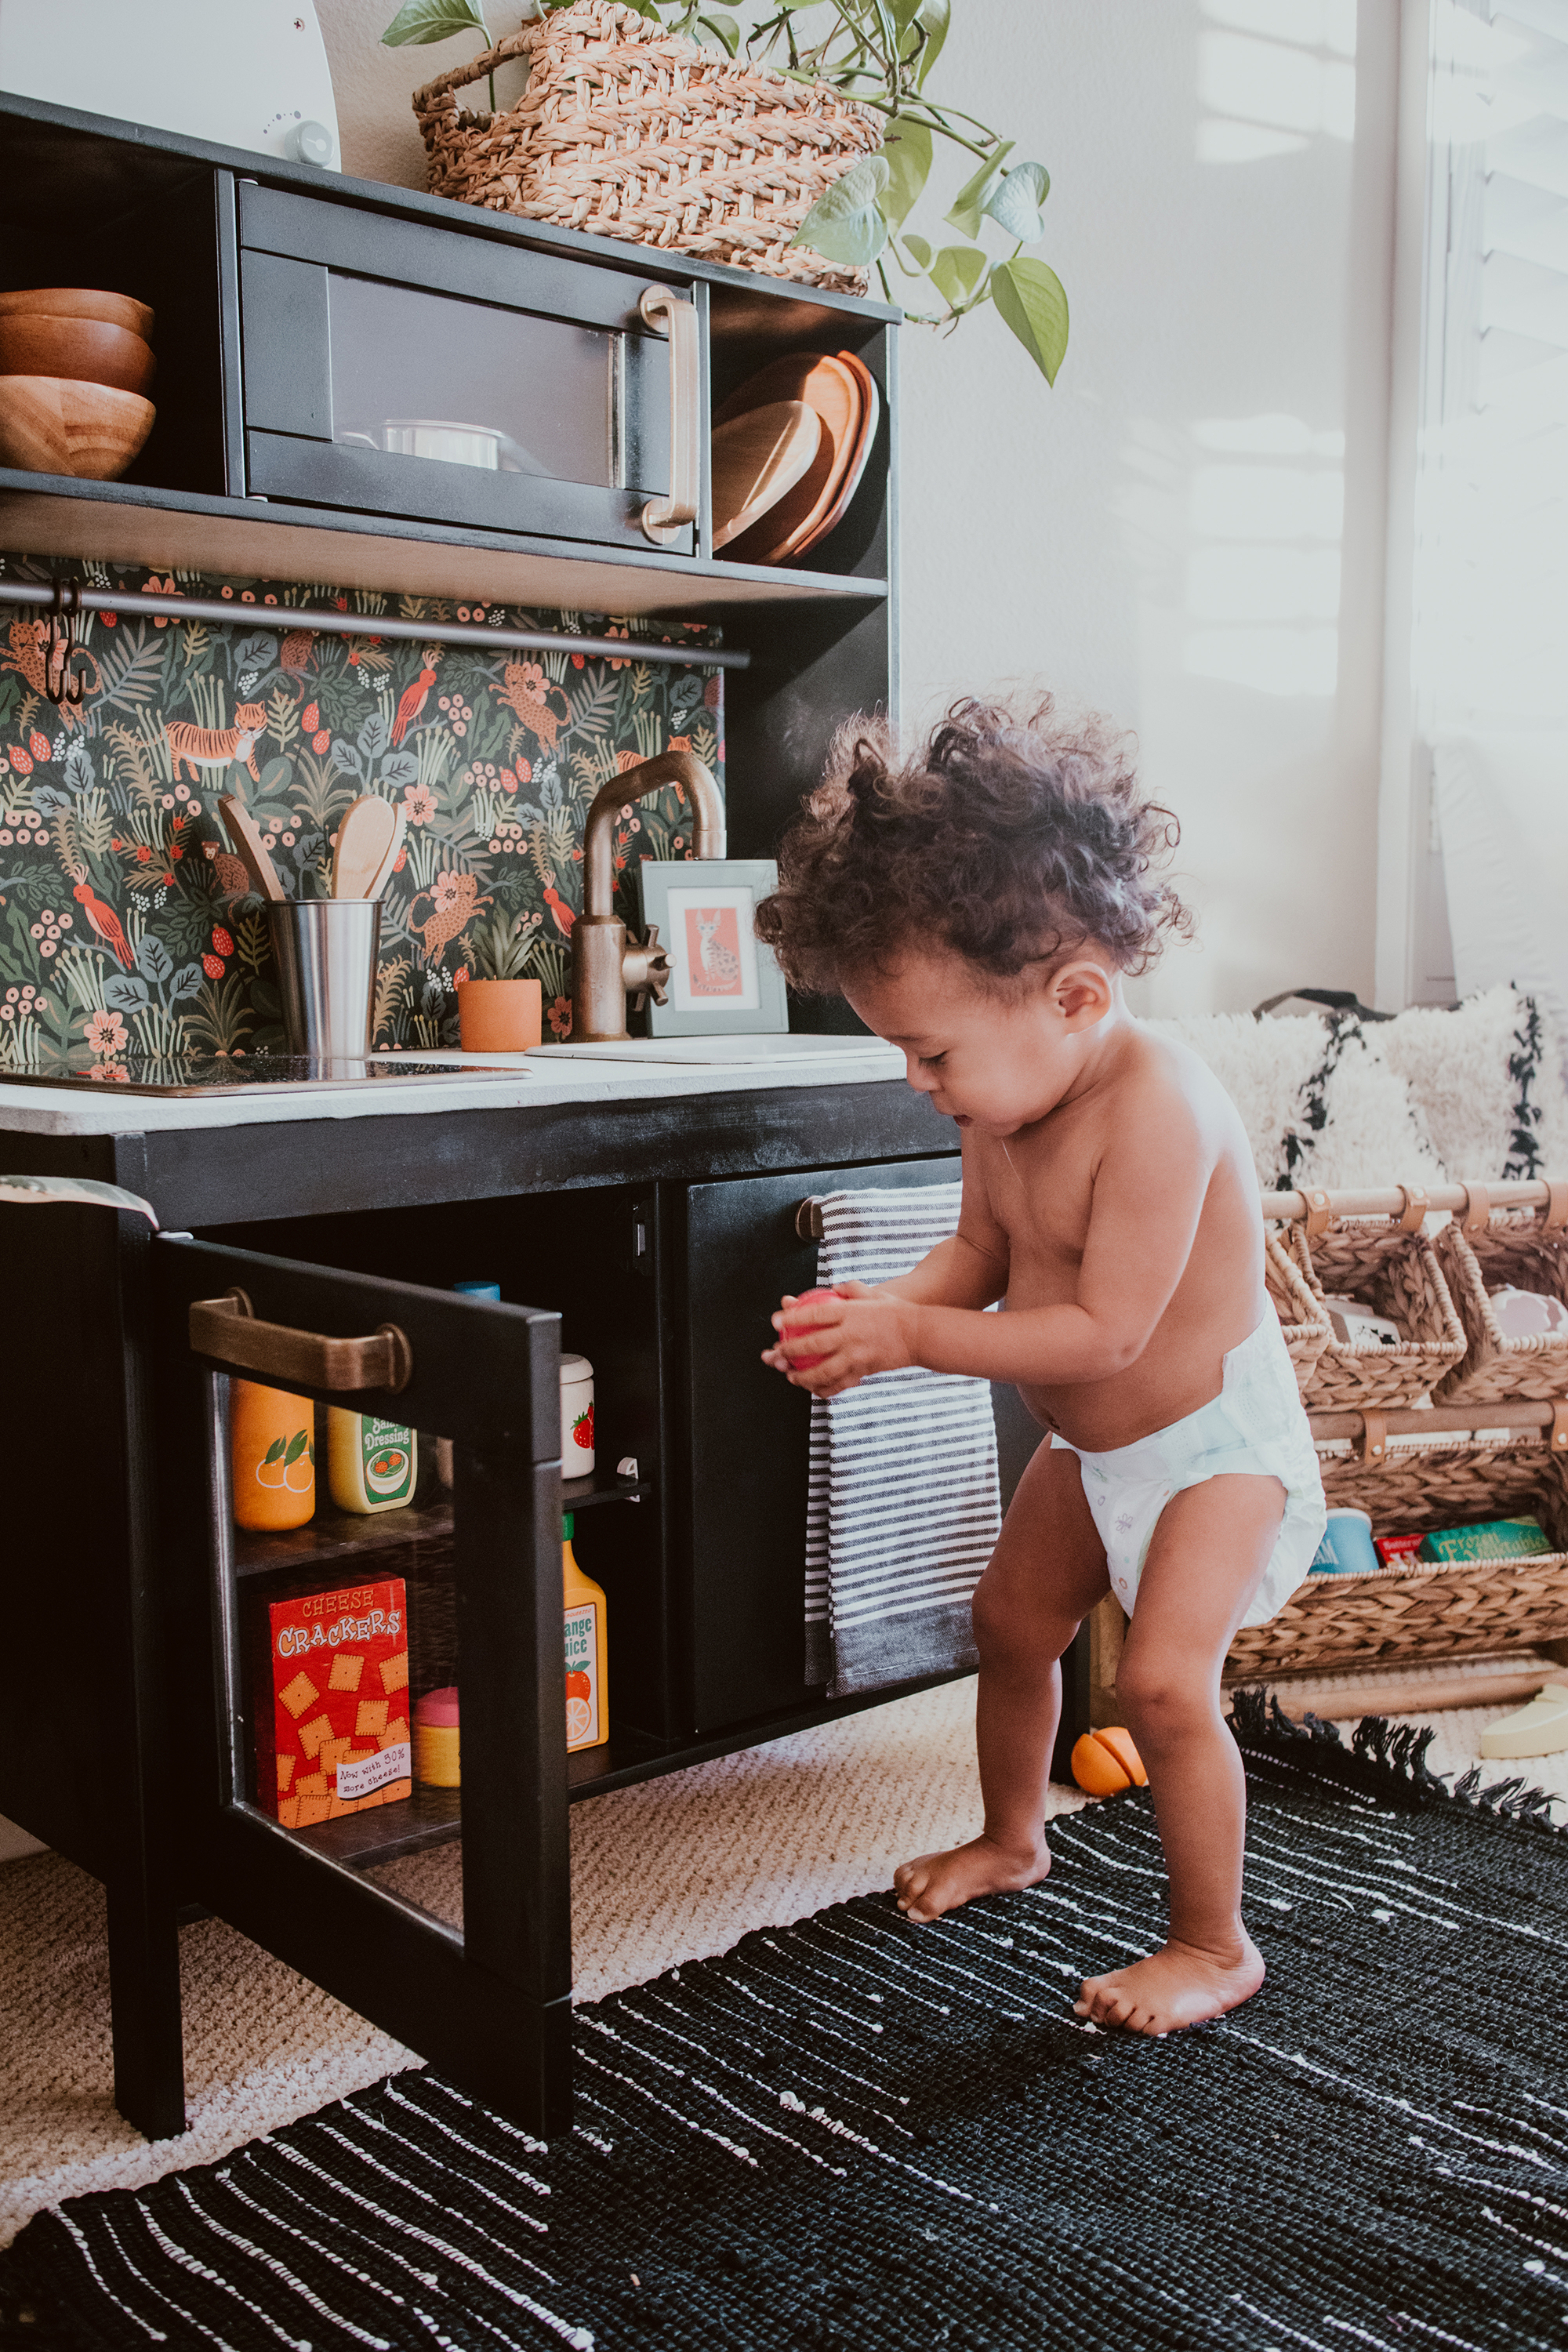
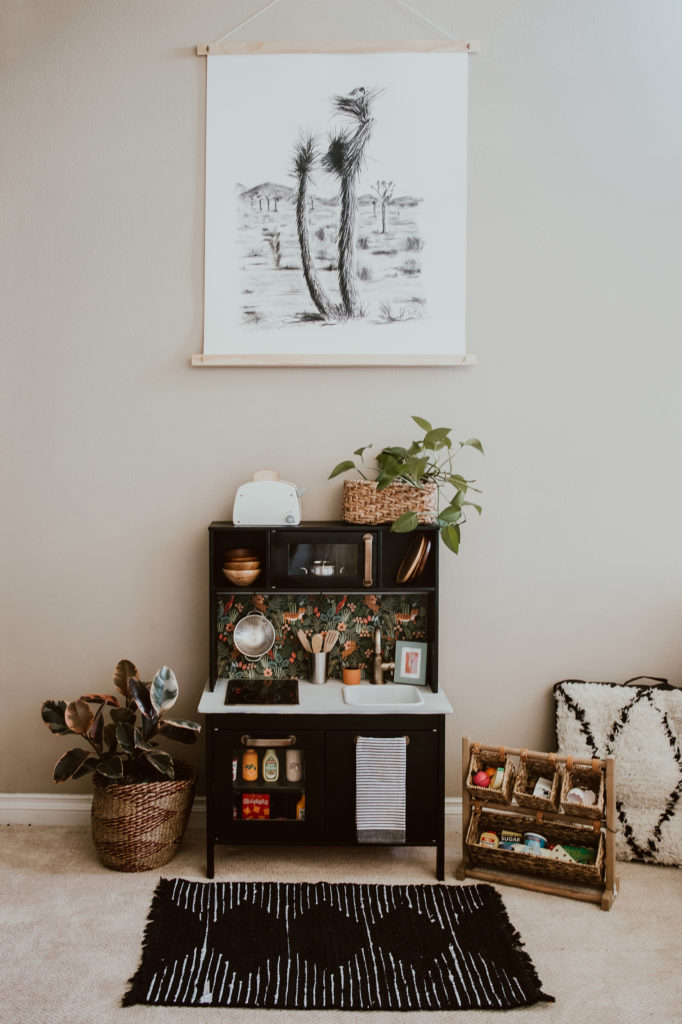
I laid down bunch of old cardboard and got to spraying in the backyard. Make sure to do this outside! You need the ventilation. I used a semi gloss black for the cabinetry and picked up brass metallic paint finish for the hardware. They make another ceramic looking paint which I used for the sink and a faux stone that I used for the counter top.
I masked the countertop first, covering the whole surface that I knew I would later peel off and spray with the stone.
Next I painted the cabinets; applying several coats and letting it dry between. Once that was done and fully dry (the next day) I taped that off and sprayed the counter top with the faux stone spray.
The hardware and sink I laid out separately applying several coats of paint as well until the thickness was what I was looking for. I love how much the sink looks like a real porcelain farm sink.
 STEP 5: Sealing the Deal
I enameled the whole deal clear to make sure that the underlying paint didn’t chip off while the littles played with it.
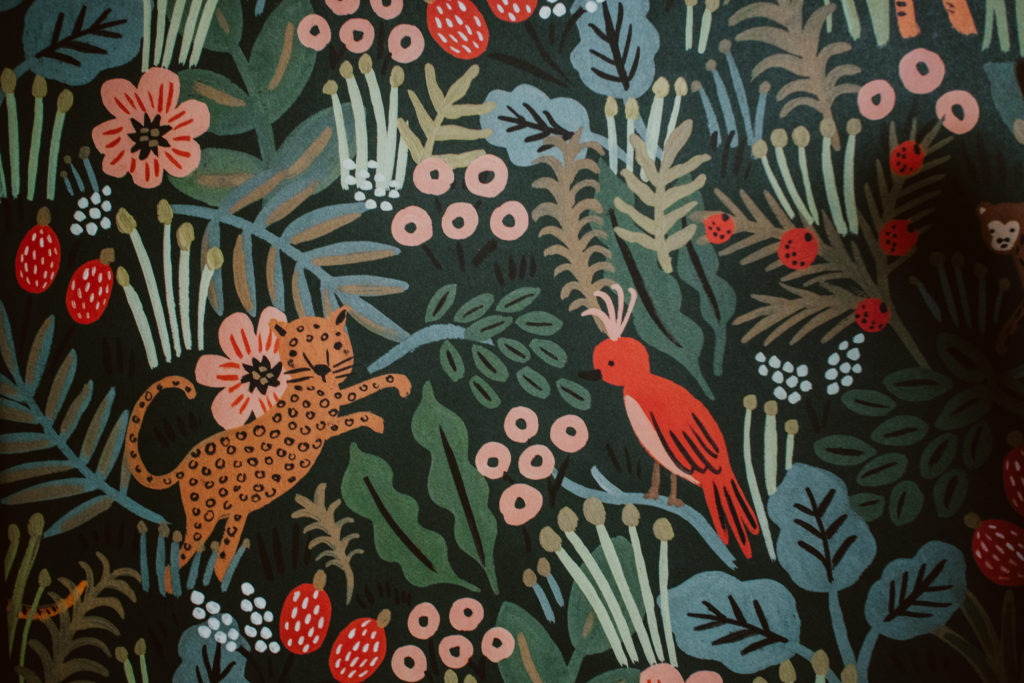
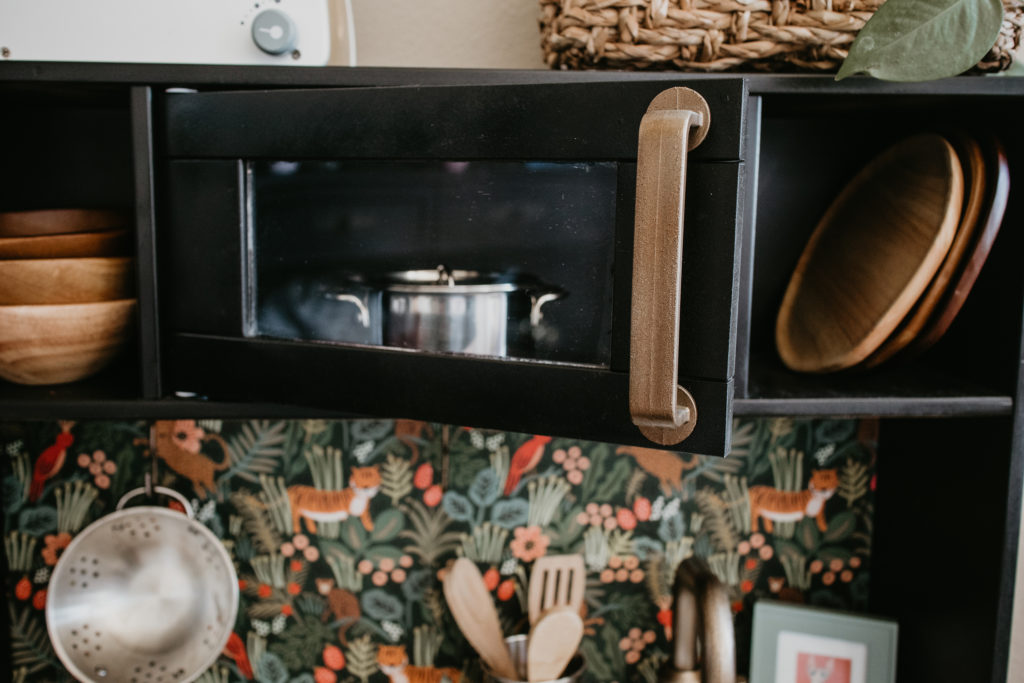
STEP 6: Making the Backsplash
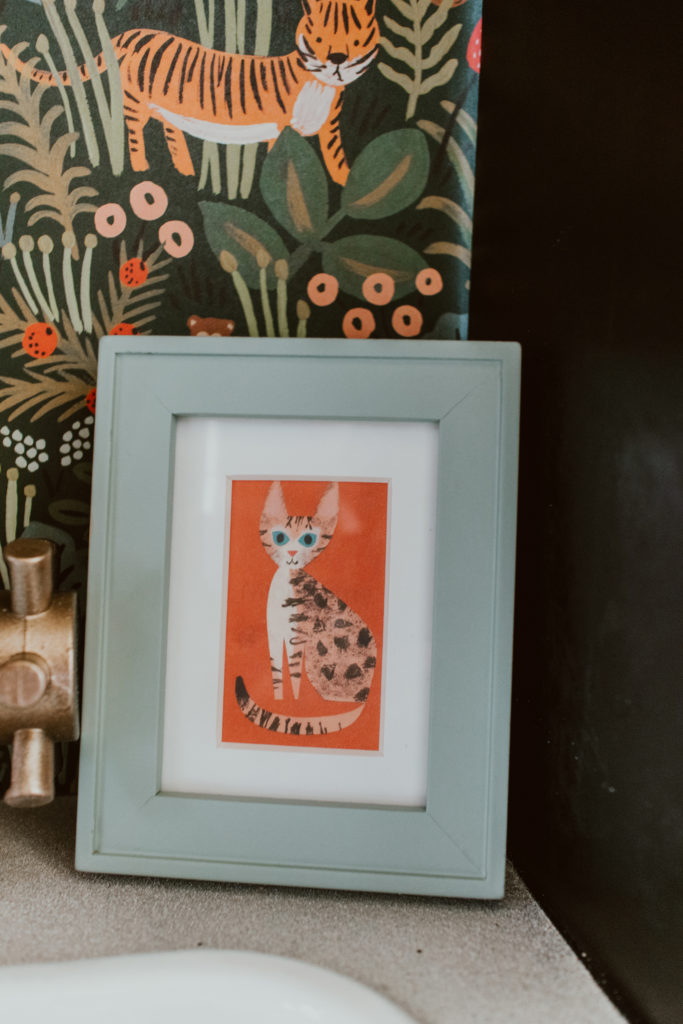
I used a small piece of composite wood cut to size of the backsplash area and coated it with a layer of spray adhesive (make sure you put something underneath and go all of the way to the edges. I then just used a few sheets of some cute paper from Rifle Paper Co. to wallpaper the backsplash, smoothing out the edges. I secured this to the kitchen by drilling it in with some small screws.
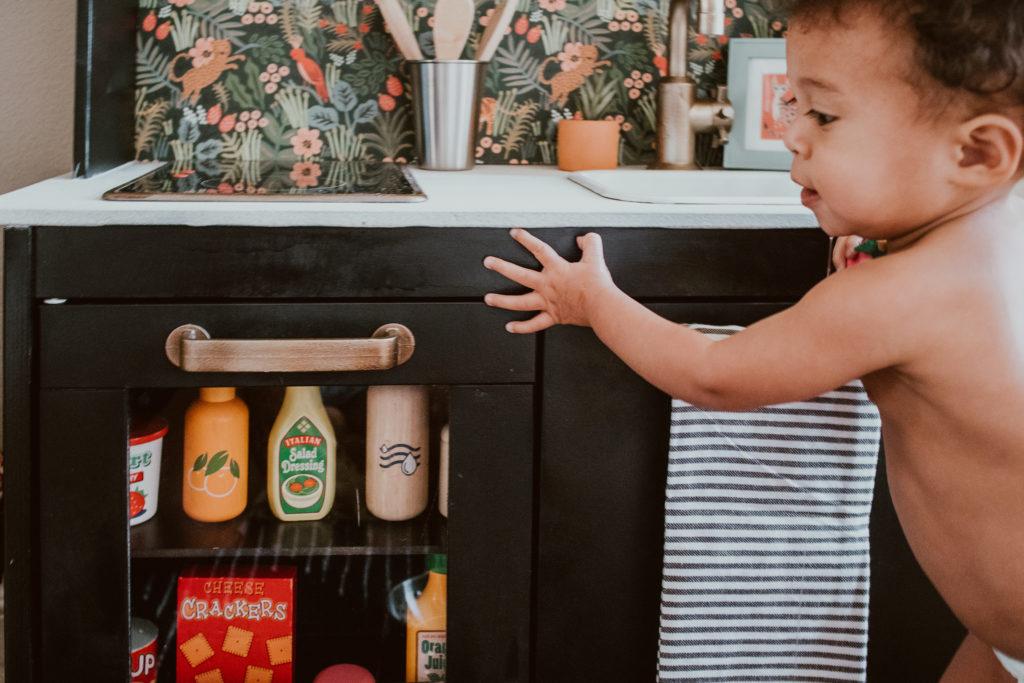
Step 7: Stocking It With Sundries
Lots of fun goodies for the play kitchen. Keeps the little people out of your stuff if they have their own food. We were handed down some super cute food from Maritza as well but here are some of the winners that the kids love to play with. I will say there are some things that they like more than others.

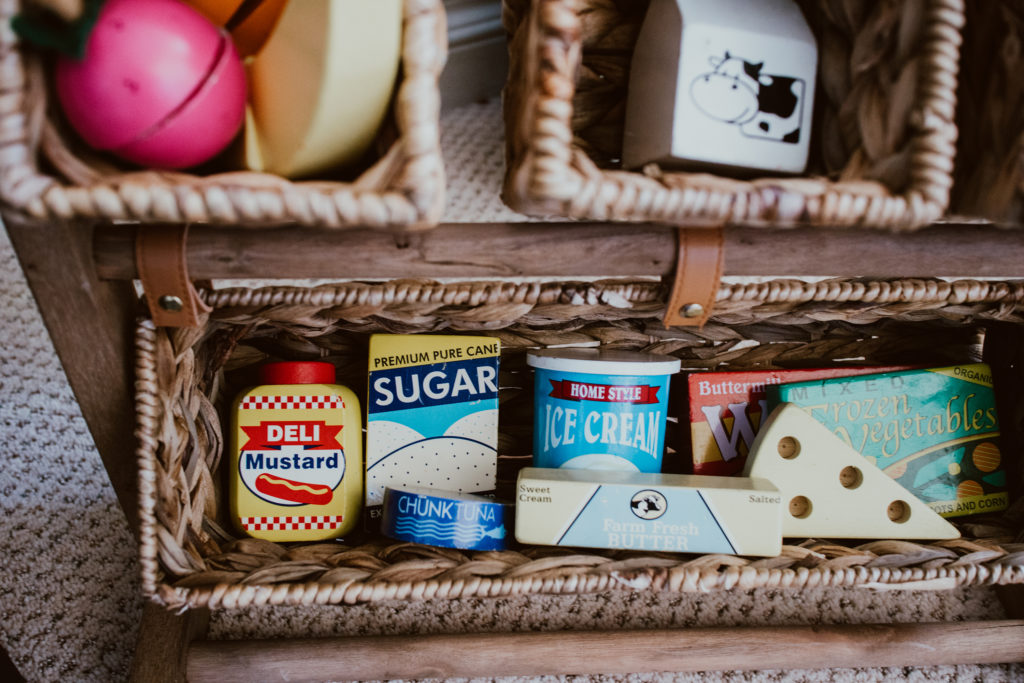
Favorite Play Food Items:
Melissa & Doug Wooden Birthday Set. Winter loves playing with all of the velcro food
Stainless Steel Mini Cookware Set
Reply...
insta
gram
@melissagaylePHOTO


