
September 6, 2018
How To Make Your Own Living Fern Wall
I have always been a long time admirer of those epic living walls! It’s my secondary goal in life to live in a space that feels like the living breathing outdoors, my primary goal being to live in the actual outdoors. Perhaps it is that connection to nature in all of us that craves this sort of jungalow vibe.
Wooly pockets, an awesome product, were a bit too far out of my price range at a whopping 40 bucks a pop.. to get the look I was going for would cost an arm and a leg. So, when I came across this abandoned bed frame on the corner of my street my creative cogs started to spin! I improvised this makeshift fern wall and have maintained it for the past few years. Today, I wanted to share with you guys how I put it together.
Materials:

- An old bed frame or something you have crafted yourself
- 2 big bags of supermoss
- 5 Gallon Bucket
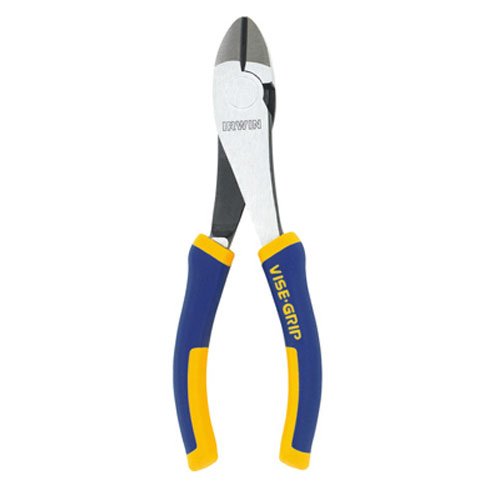
- Dykes
- Wire cutting gloves
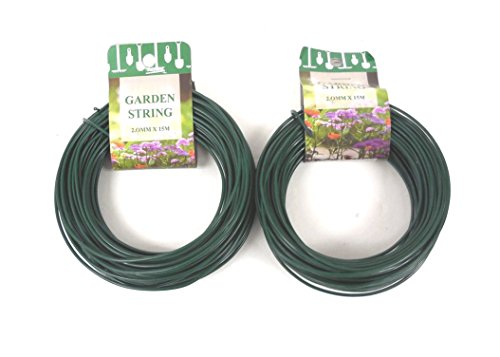
- Floral wire
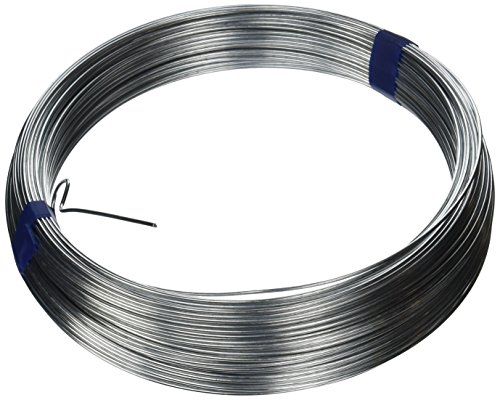
- Heavy gauge wire 16g
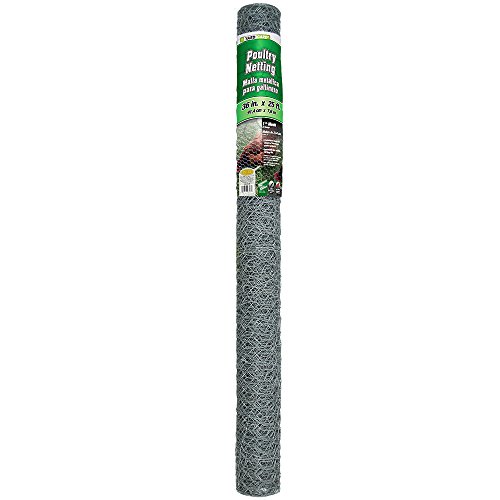
- Small holed chicken wire (1 “ about 50 yards)
- 1 bag of potting soil
- A variety of ferns, plants or succulents
- Osmacote fertilizer
The Set Up (Building Your Frame Out)
The first thing you need to do is find the framework of your living wall or build it yourself. The structure of this old bed frame worked super well because it already had the depth built in to it but this is where you will need to be creative yourself. What can you repurpose to build your pockets into? Keep your eyes peeled and just make sure that whatever you choose doesn’t have a bunch of nasty chemicals sprayed on it. Remember that this will be the home of living things and whatever you use will get wet and leech into your plant’s water.
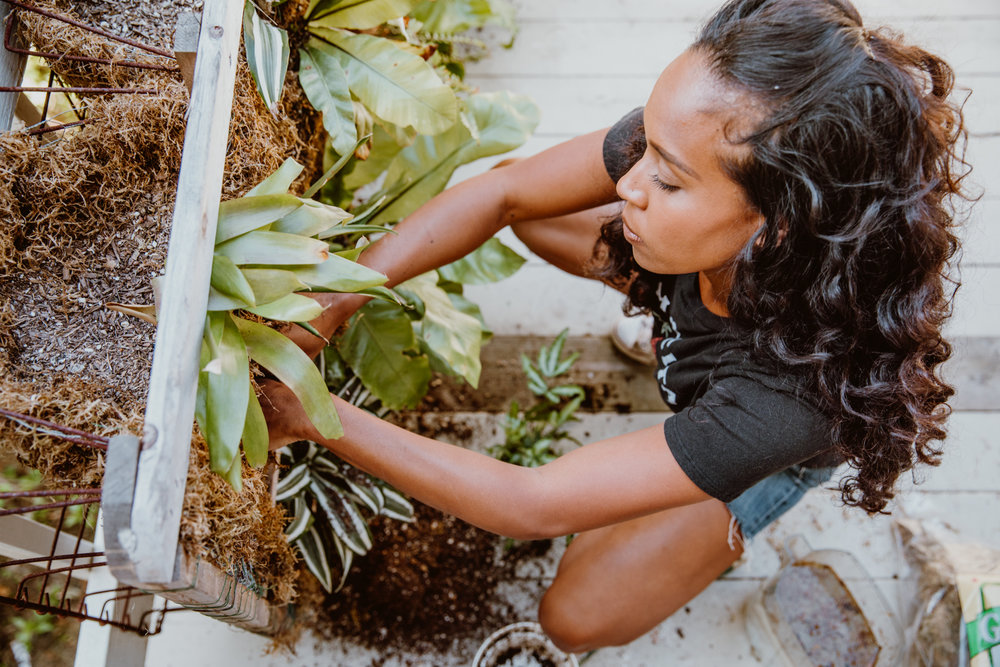
Next, I used a roll of smaller holed chicken wire, a pair of dykes, and nice thick pair of gloves to begin assembling my pockets. Using a staple gun, I affixed my wire in panels as wide as the pockets to the back of the wooden frame, shaping and bending the wire forward to become the front of the pocket and squeezing it together on the sides. I made sure to fold the front of the pocket over one time before securing it down. That way the front edge of the pocket wouldn’t be a sharp, unfinished edge of pokey wire.
After completing this in all square holes of my bed frame I took a strong wire with a pliable gauge and reinforced all of the pockets. This part is crucial. These pockets will need to hold a lot of weight once you fill them with moss, soil and watered plants; so to be sure not to skimp on the enforcing here. More is good, too much is the right amount here.
Lining the Pockets
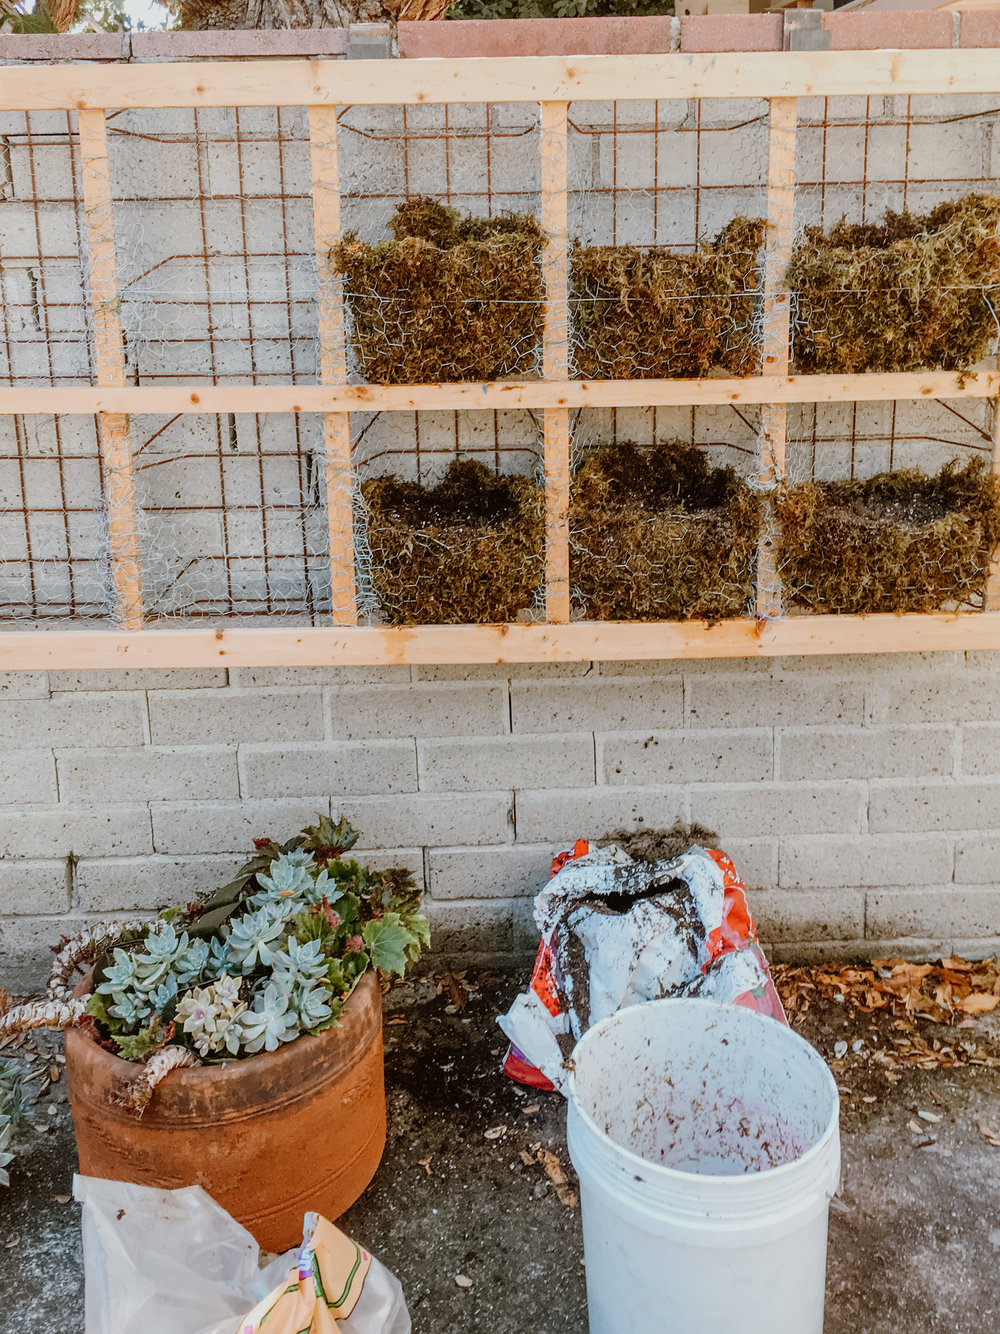
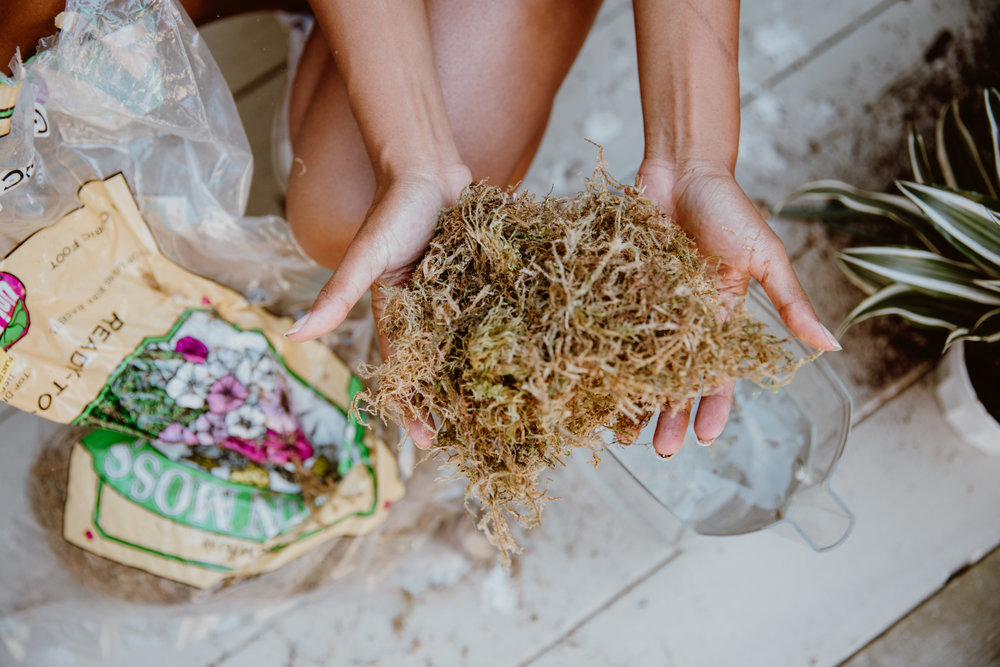
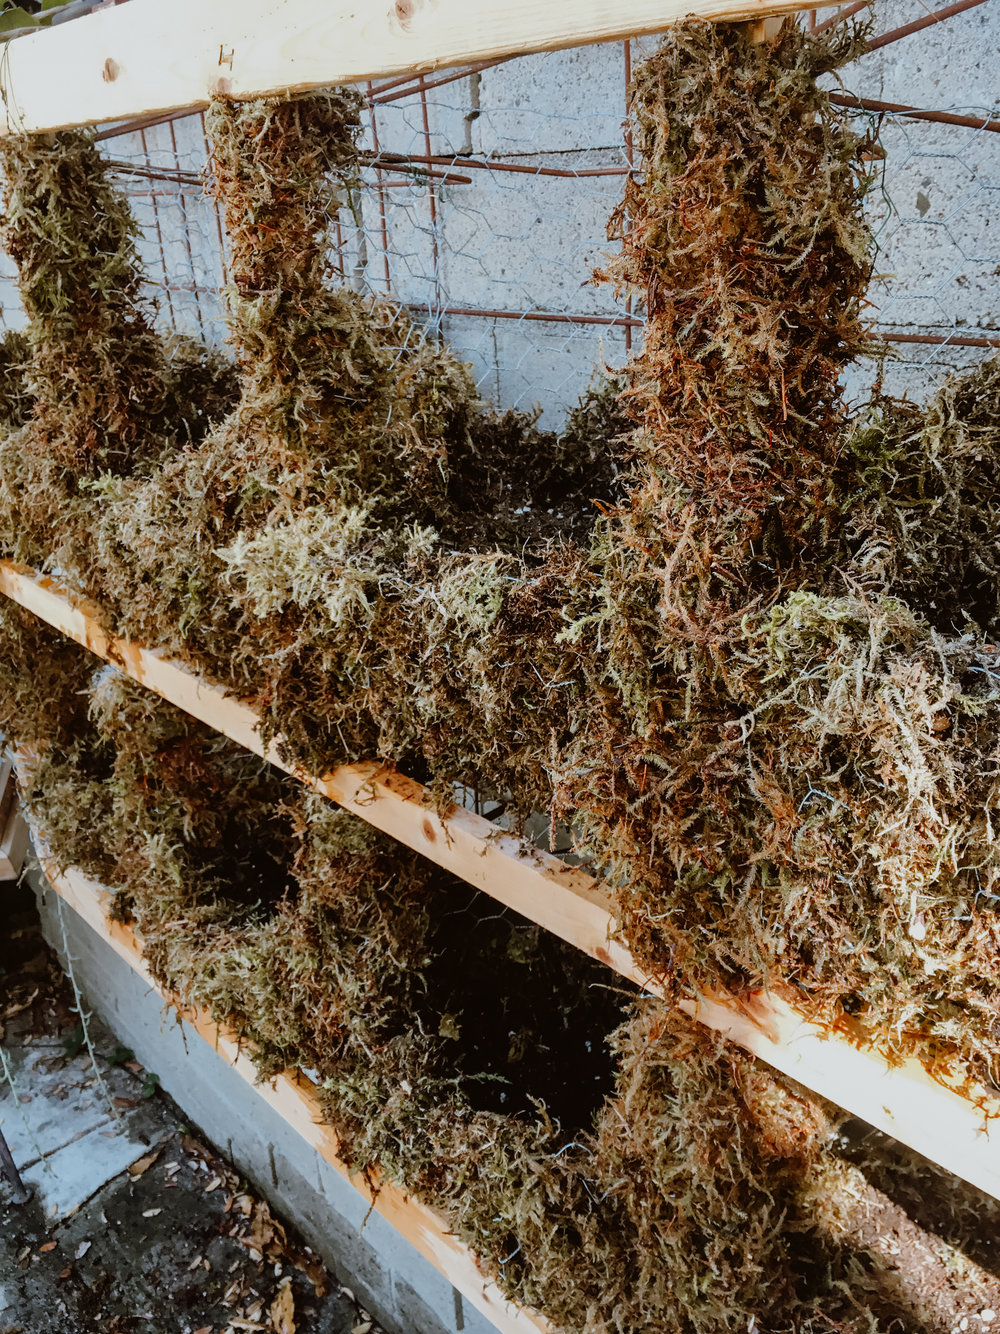
Awesome! The hard part is over. Ya done good. Great time to take a break and continue on to phase two.. filling your wire pockets with supermoss.
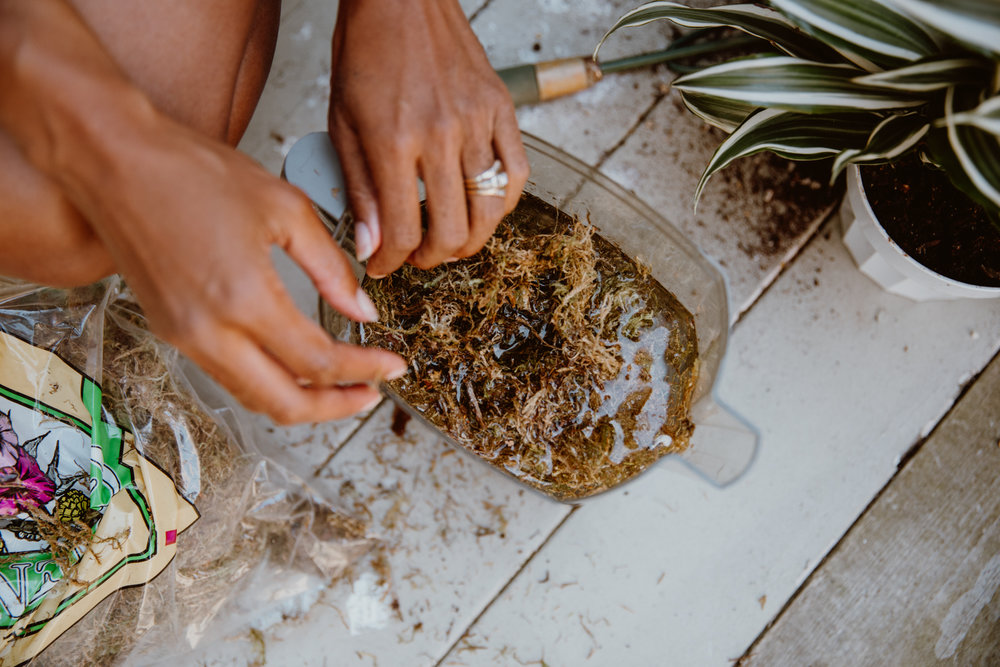
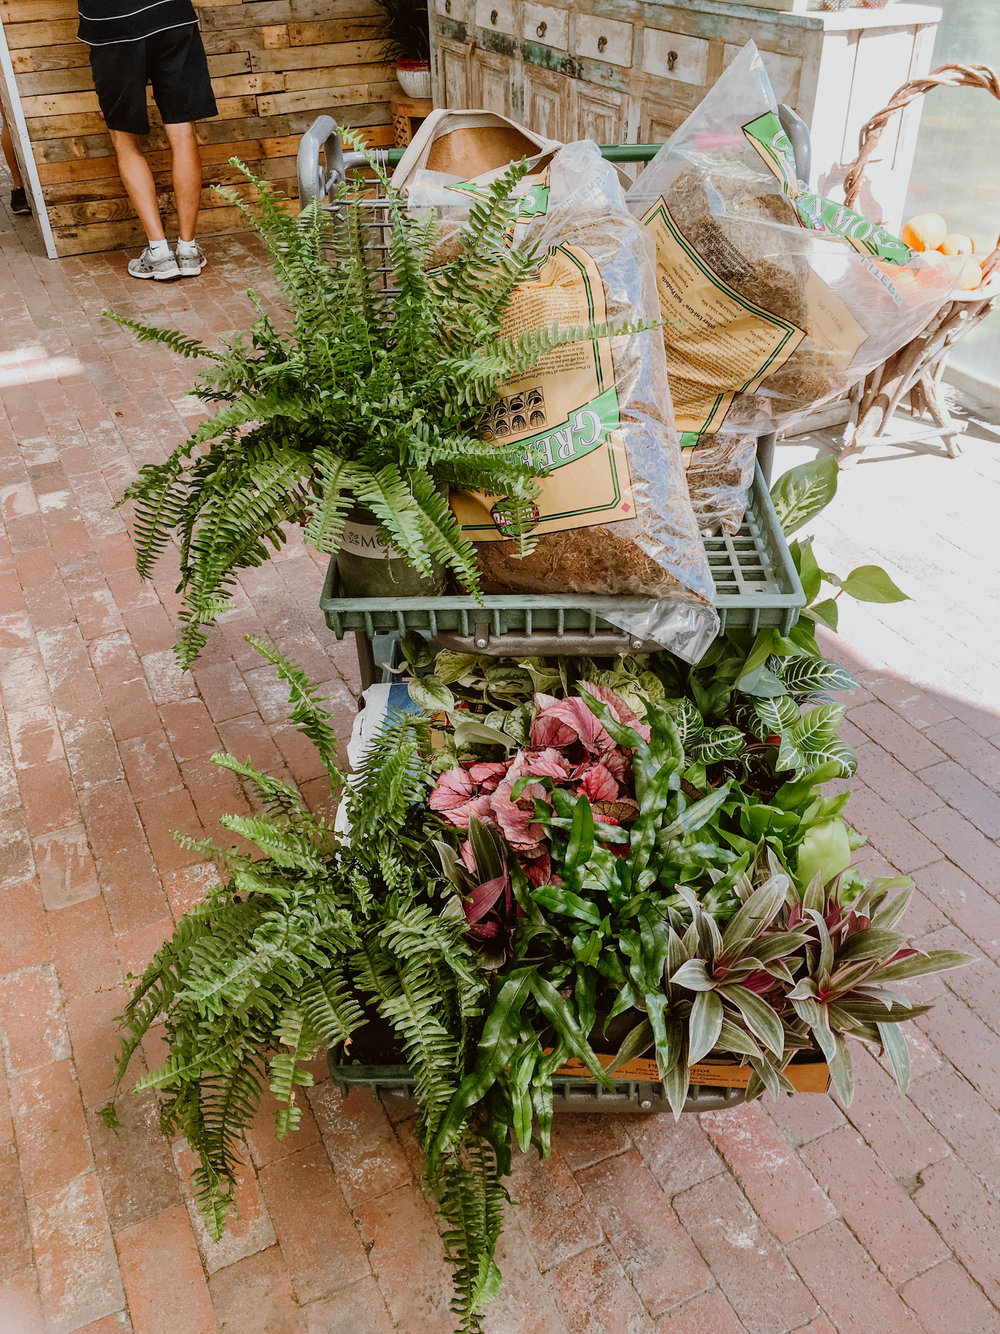
I purchased my supermoss from the nursery. Make sure you don’t buy craft moss which can be painted and nasty and filled with chemicals. You want to ask your local nursery what they use for planters and get that. I used two big bags for this project so scale up or down depending on the amount of space you need to cover. I bought mine local after searching the internet far and wide. I’ll add a photo of the brand I recommend. It’s called
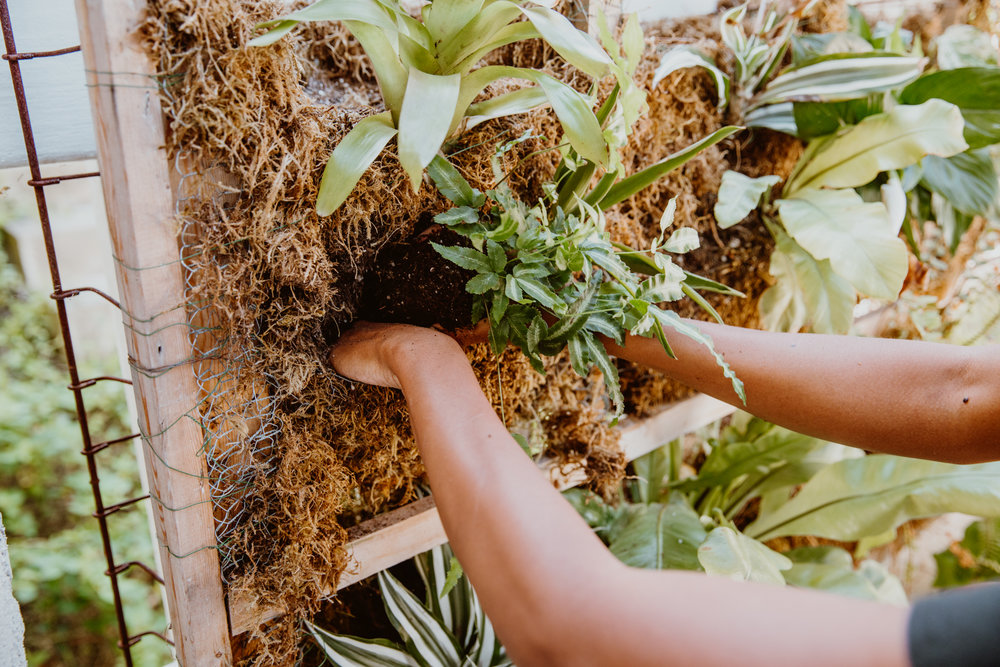
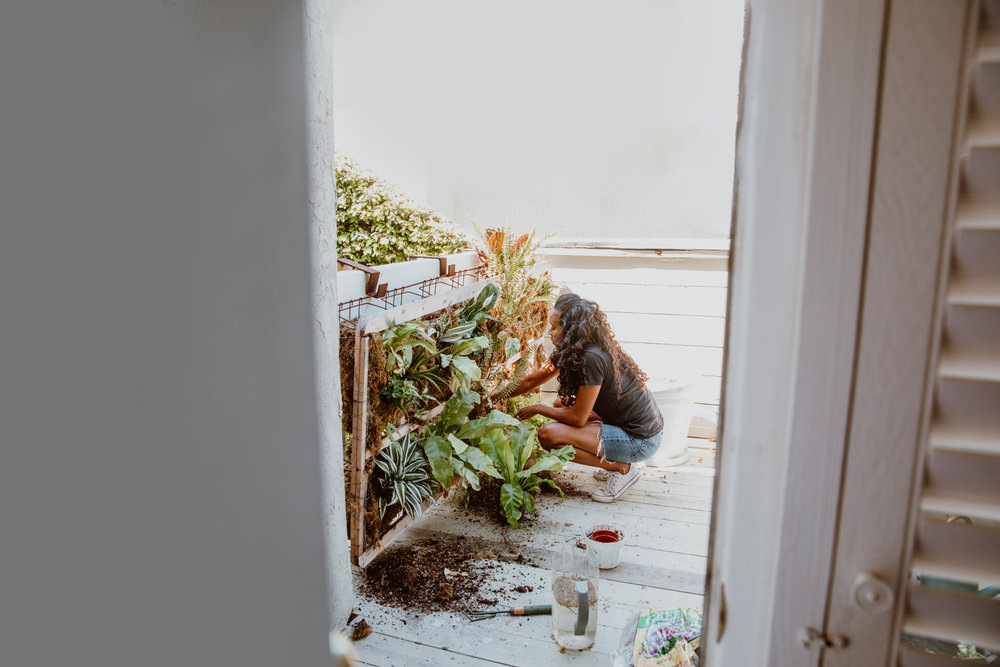
Soak the moss in a 5 gallon bucket filled with water a couple of handfuls at a time and begin removing the soaked moss and molding it into small sheet like handfuls. Press the moss into the inside of the basket and line the whole pocket from the inside out. This lining will be the barrier to protect your soil from escaping and retain the moisture fr your plants so don’t skimp on it! Make sure you’ve got a nice thick lining for your new plant wall.
Planting
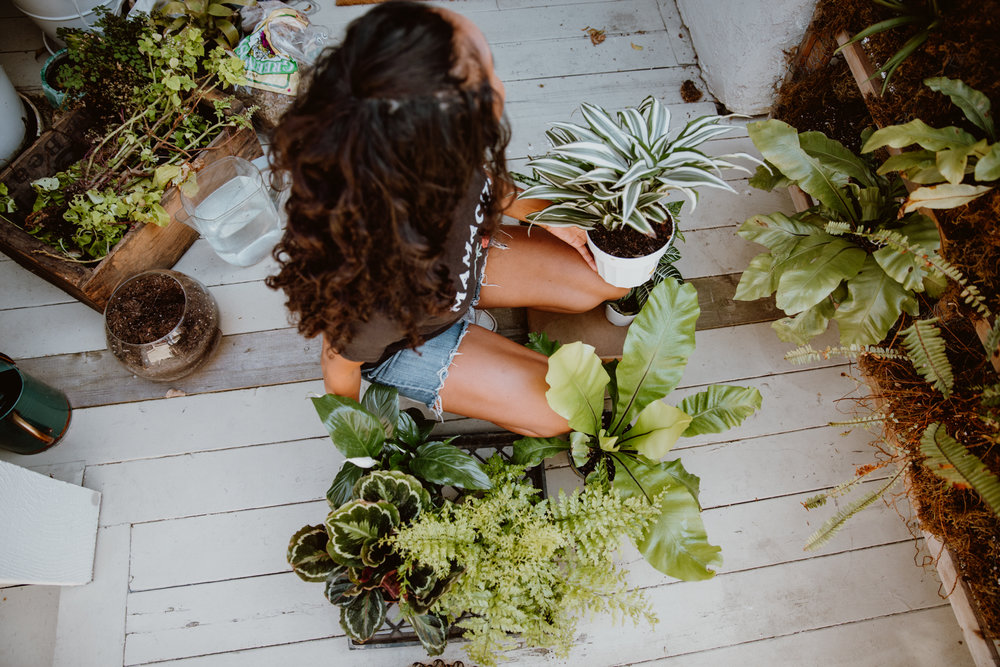
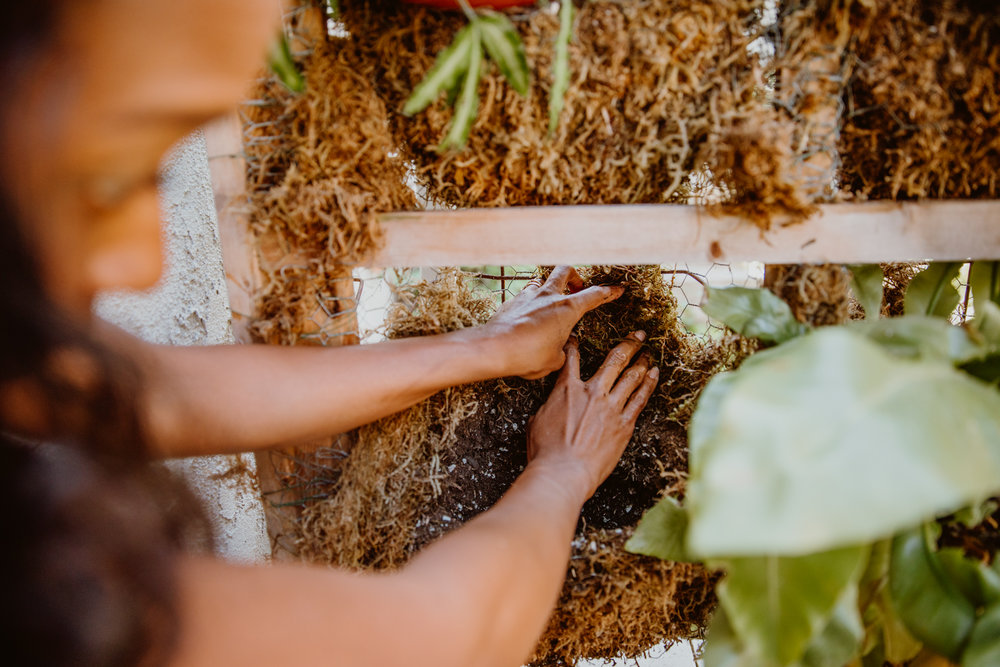
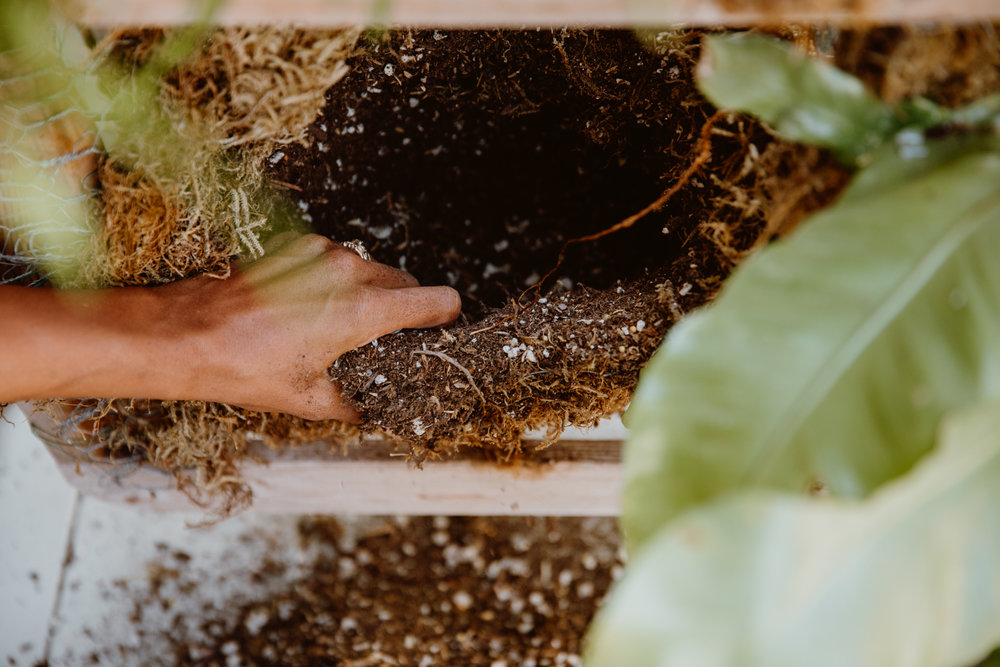
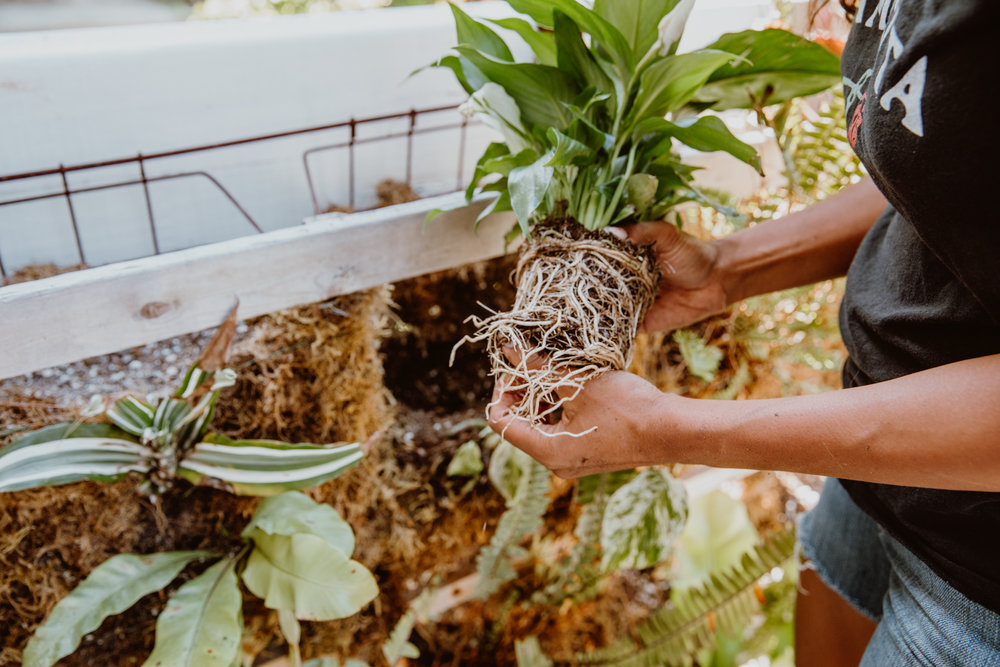
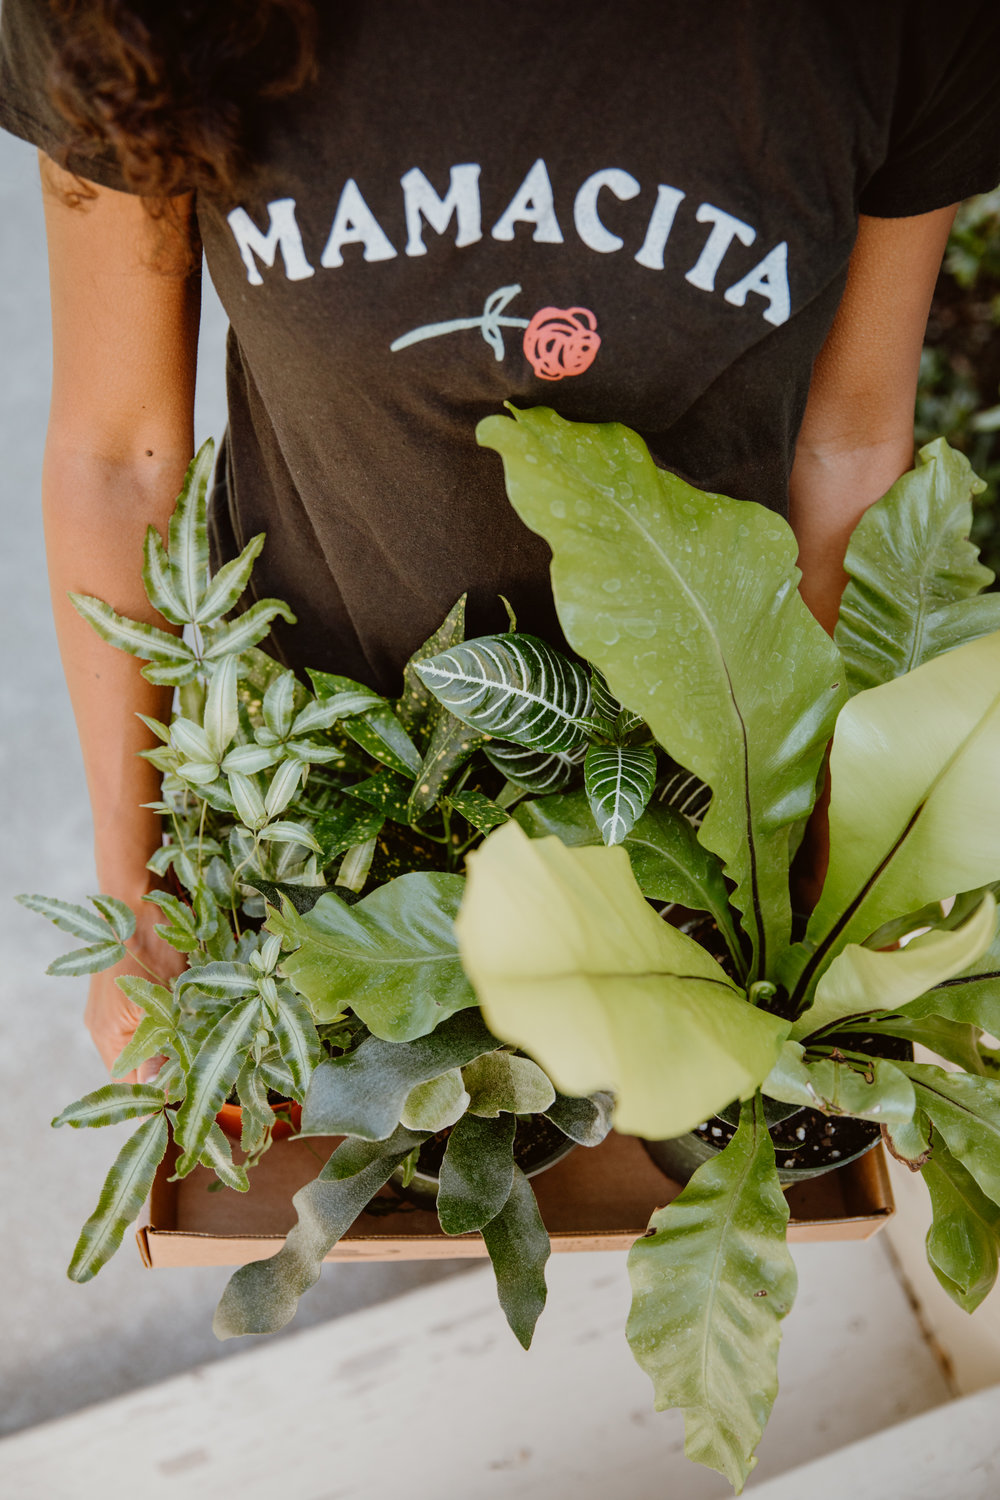
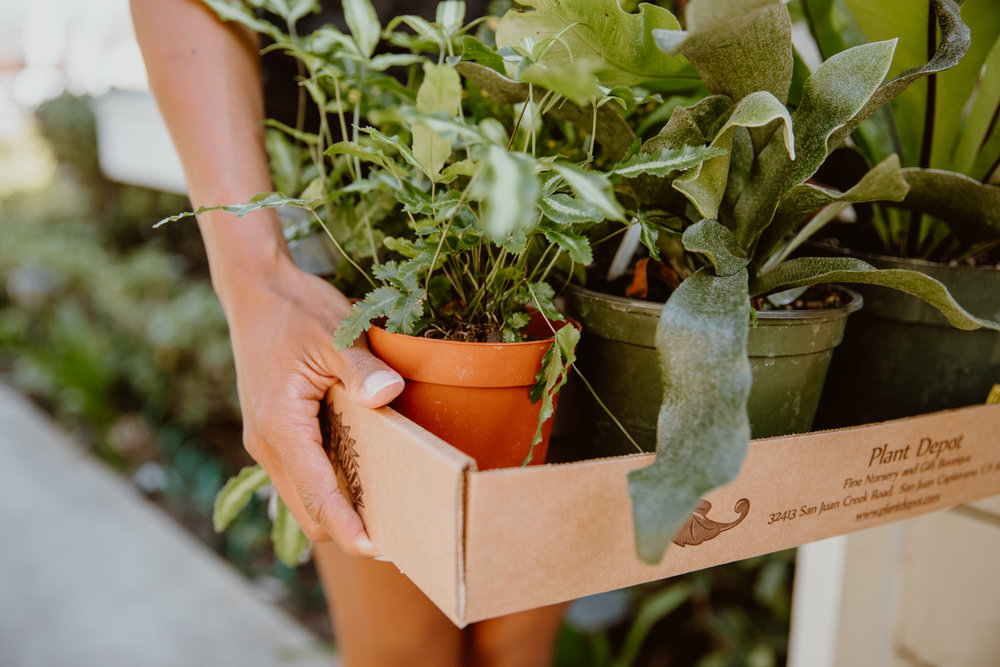
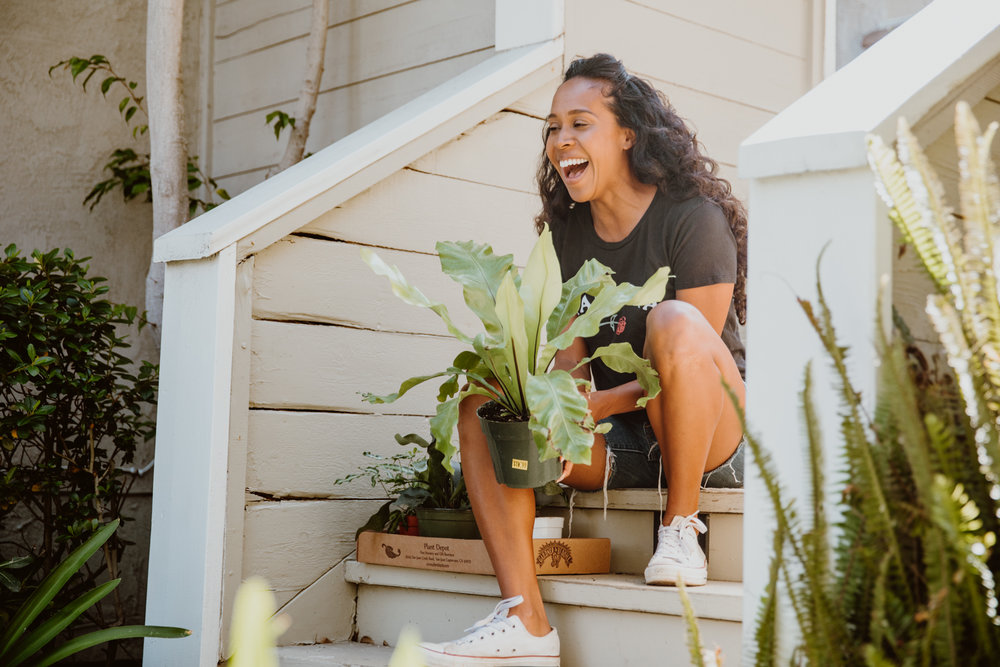
After you have finished lining your wall you are ready for the fun part! It’s time to plant! You will want to go to the nursery and have a good conversation with your local gardener. I always like to take a lot of iPhone photos of the area I will be putting my plants in and give them an idea of the sun and how it will hit. This will help you get plants for you wall that will thrive. Grab some potting soil and start filling your pockets 1/3 of the way with dirt, then placing your plants in one by one varying the plants based on color variety and size. Make sure to plant at an angle here so your plants can grow outward. I stuck with ferns and tropical mixes. I love the pockets that just have one big plant (because they are so easy) but a few little ones added in add for great texture.
Let The Love Grow
With time all things grow better. And so it goes with a living wall. Some things will die, some things will thrive. You will go on vacation (or have a baby) and one day ALL of it will die and you will have to replant! 😉 But that is the joy. I have learned a little bit as I have gone with it, pulling the plants that struggle and touching up the moss and soil here and there. So have fun with it! Can’t wait to see what you put together!
Note: About 6 months down the road you can sprinkle some Osmacote onto your wall to fertilize it once the plants have established themselves. This will give everyone a nice little boost!


insta
gram
@melissagaylePHOTO


